Showing posts with label holdfasts. Show all posts

Wednesday, June 11, 2014

Aprons

I'm a bit behind on blogging.  It's been a bit busy up here lately what with spring planting, summer gardening, horses, farm festivals, work, and school.  That's not a complaint mind you(well, the last two might be), just an excuse for not being inside on the computer.  Another excuse, if I need one, is that the weather has been fantastic and we've spent several evenings sitting by the fire.  Campfire season is always so welcome, like greeting an old friend!

This post should wrap up the winter activities series.  This past winter was fantastic!  I got new old cross country skis and worked on that skill, built an end table that is effective if not elegant, and did several leather projects.  So far, these aprons are examples of my best work.  They started life as an 8 oz side of leather.

You can see some of the blemishes here.  It was a fun challenge to use all of the leather and incorporate the brands and marks in a pleasing way.

I cut the leather to a similar pattern, but made Adam's a little bit longer thinking he could use the length to kneel on while he works on his bikes or whatever.  Dad's is a little shorter as stained glass work doesn't require so much kneeling.


These buckles were fun to make.  I like using the rivets and grommets to give the whole thing a little bit beefier look.  Hopefully they hold up.


You can see my sketchbook here.  If I keep making these, I'll need to standardize some of the measurements and patterns to make the work go faster.  The pockets and loops could definitely be made with a standardized pattern even if the size of the apron changes a little.


These knives were the starting point for the whole apron.  I saw a short film about R Murphy Knives and was stoked to see affordable blades made in the US.  These shop knives were too cool, and I immediately saw a shop apron take shape around them.  Since I already made my apron and have a critical mass of knives, these became gifts.

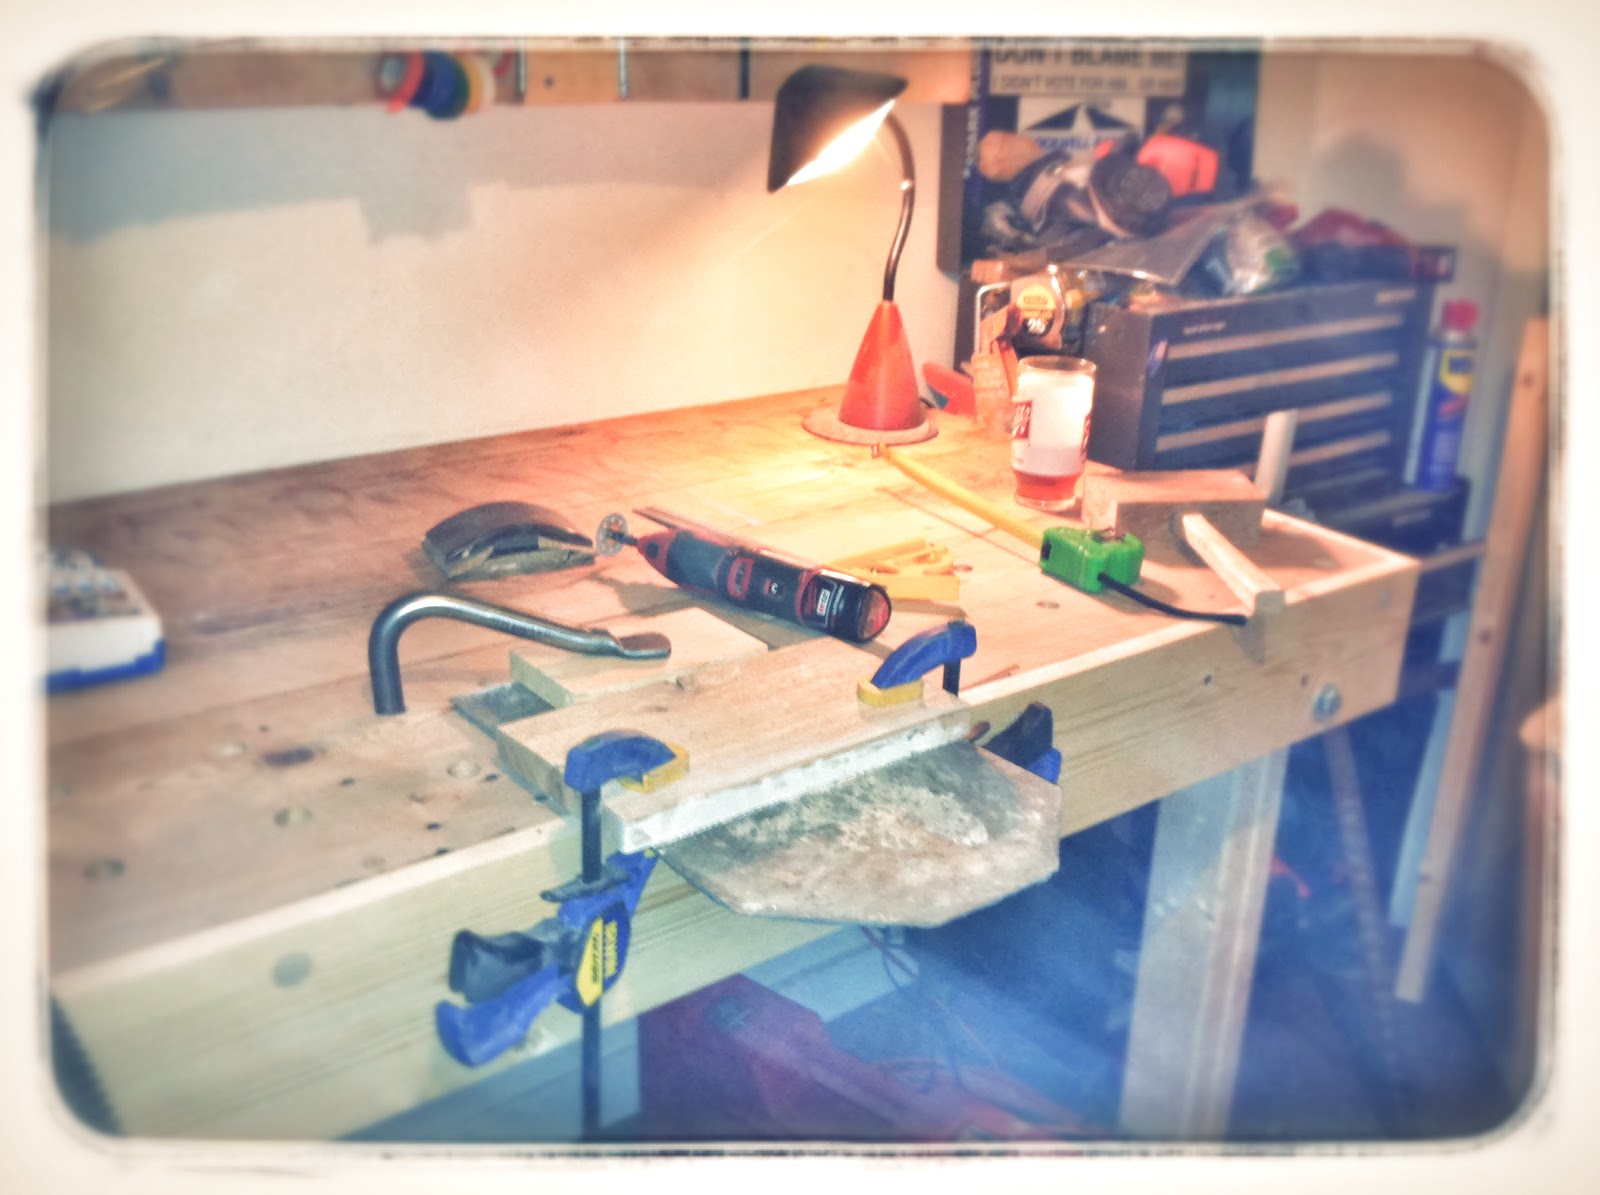
The workbench.  Multifaceted and super handy!

One apron, almost done.


Attaching the hammer loop.

Thanks again to Veneta for hand delivering the finished product.

Wednesday, March 26, 2014

The End Table

Sarah and I are going to build a kitchen table this spring, but we haven't made much progress on it.  It's going to be a big (and messy) job.  In the mean time, along with the leather working, gardening, pruning, etc. I built a little end table out of some of the scrap barn wood and a pallet.  Mostly I wanted to practice some of the skills we'll be using for the larger table.


I started with a chunk of wood about two inches thick in some places and not so thick in others, and 14" x 20".


The board was a little bowed, a little twisted, and a little warped.


The bench vise has been a great addition to the shop.  I feel so cool using it with my hold fasts and even made a rough bench dog to help at times as well.


After quickly squaring up the sides, the real work began.  A lot of material had to be removed in order to get the bottom level and ready for legs.


I wanted the worn surface to be the one that was exposed, but obviously that side wasn't conducive to holding glasses vertically.  So what I came up with was the idea to build a frame around it and use a bar top epoxy to create a level surface.  I tried to make dovetail joints, but it didn't go real well.  I wound up with some decent box joints in the end.


Harrington's Wood Shop: Sawdust, shavings, and other fine wood products


I'm not sure it's done yet.  It probably needs a coat or two of finish on the legs, and Sarah says it can't stay in the middle of the floor.  I can't imagine why.  I'm pretty happy with it, and happy to have it done.  Next up, a huge circular kitchen table.  I'm sure we're ready.


Wednesday, January 15, 2014

More photos of the workbench.

I'm kind of obsessed right now.


new workbench necessitated new tools.  note the drill guide and the holdfasts.  here, i'm using the holdfasts and clamps to create a guide for the drill to finish up the dog holes.


dog holes.


used the holdfasts to work on a piece of slate.  made a base for a flower pot to sit on.


note the mason jar.  i made my own finish out of beeswax and mineral oil.